
Ten minutes from install to a working rate.
◷ 10 min
● Beginner
Requires: WooCommerce 7.0+
WordPress 6.2+
What you need
| Requirement | Version |
|---|---|
| WordPress | 6.2 or newer |
| WooCommerce | 7.0 or newer |
| PHP | 7.4 or newer |
| Browsers | Current Chrome, Firefox, Safari, Edge or Opera. Internet Explorer is not supported. |
Works with WooCommerce HPOS (High-Performance Order Storage), and with both the classic and Block cart and checkout.
Install
- Install and activate WooCommerce first. This plugin extends it and will not activate without it.
- Plugins → Add New → Upload Plugin, choose the zip, Install Now, then Activate.
- Open WooCommerce → Shipping Rate Builder.
On activation the plugin creates one indexed database table for your rules. Deactivating leaves them alone. Deleting the plugin also leaves them alone unless you have turned on Remove all plugin data when the plugin is deleted in Settings — it is off by default, so an accidental delete cannot destroy your configuration.
There is no zone setup to do
Most shipping plugins make you add their method to every WooCommerce zone before anything works. This one does not.
It runs automatically for every shipping calculation and works out which zone the address falls in by itself, then applies only the rules that target that zone.
✓ Note
You will not find Shipping Rate Builder in a zone’s Add shipping method dialog, and you do not need it there. A rule is live in every zone it targets the moment you save it.
What this means in practice:
- A new rule is live as soon as you save it, in every zone it targets.
- Your zones stay exactly as they are. You never re-enter countries, states or postcodes here — a rule’s WHERE step points at zones you already have.
- To limit a rule to particular zones, use step 1. WHERE in the rule itself.
Your first rule
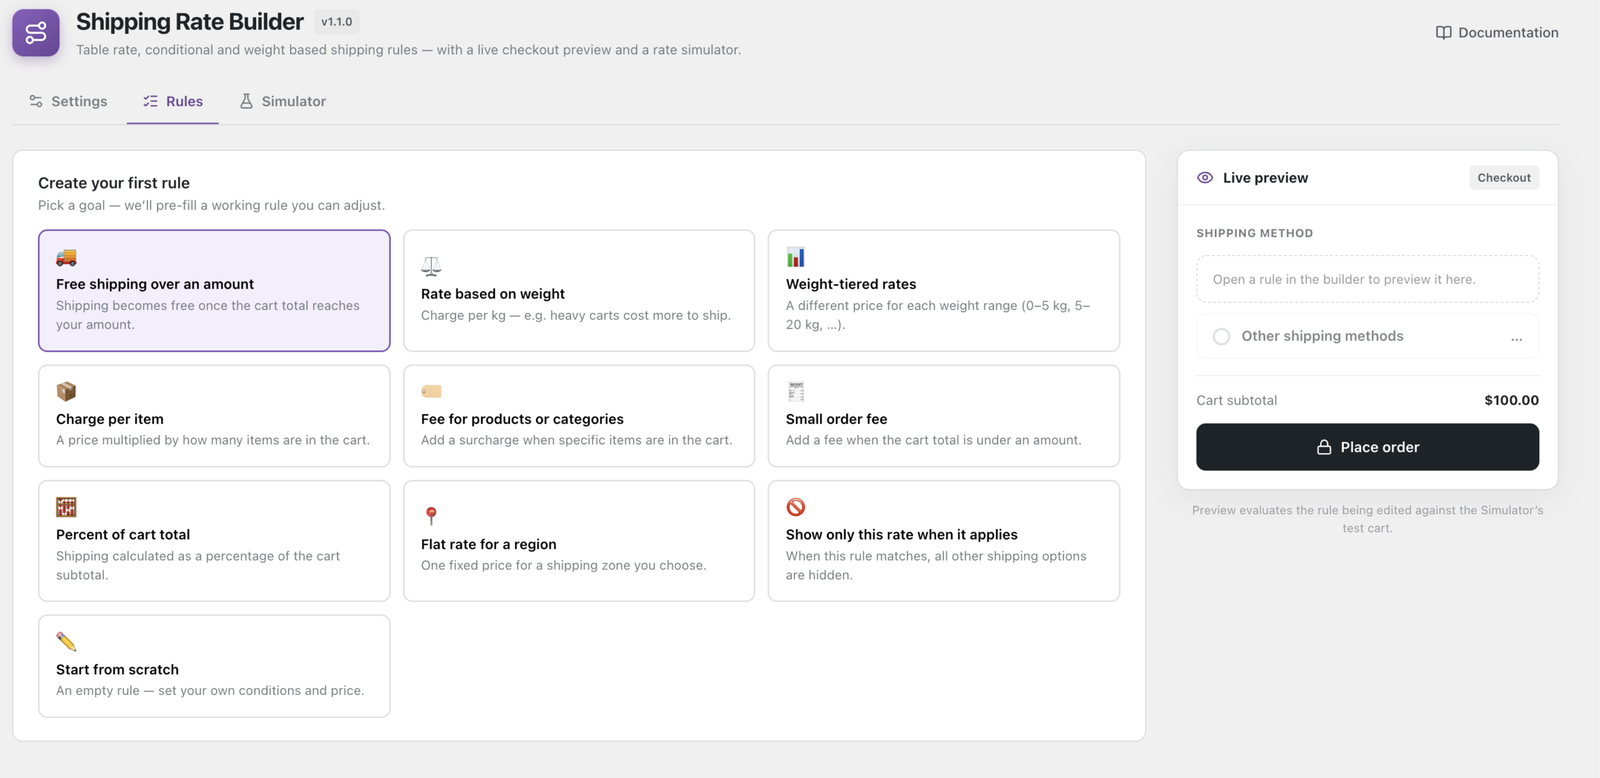
The fastest route is a goal template. On WooCommerce → Shipping Rate Builder → Rules, click Add rule and pick a goal such as Free shipping over an amount. You get a working rule to adjust rather than an empty form.
Every rule reads as a sentence, in four steps:
| Step | Name | What it sets |
|---|---|---|
| 1 | WHERE | Which WooCommerce zones this rule applies to. |
| 2 | WHEN | The conditions. Leave it empty and the rule matches every cart — which is how you build a fallback rate. |
| 3 | THEN | What to charge. |
| 4 | SHOW AS | The label the customer sees at checkout. |
The line under the rule title restates the whole rule in plain English as you edit. Read it before saving: if it does not say what you meant, the rule does not do what you meant.
⚠ Warning
Save changes saves the rule you are currently editing, not all of them. Open another rule and save it separately. Reordering rules on the Rules screen saves on its own as you drag.
Check it before your customers do
Open the Simulator tab, build the cart you expect, and press Run simulation. It runs your real rules through the real engine and tells you which matched and which did not.
Tip
This is worth the thirty seconds every time. It is faster than placing a test order, and it is the difference between finding a problem yourself and hearing about it from a customer.