Complete Guide to Show/Hide Fields
Introduction
Managing product options in WooCommerce can become complicated when you offer multiple customization choices. Customers may feel overwhelmed when they see too many fields at once, especially when some options are not relevant to their selections. WooCommerce conditional logic solves this problem by showing or hiding fields based on customer choices, creating a cleaner and more intuitive shopping experience.
In this guide, we will explain what WooCommerce conditional logic is, why it matters for your online store, and how you can implement it to improve customer experience and reduce order errors.
What Is WooCommerce Conditional Logic?
WooCommerce conditional logic is a feature that controls the visibility of product fields based on specific conditions or rules. Instead of displaying all available options at once, WooCommerce conditional logic reveals only the fields that are relevant to the customer’s current selections.
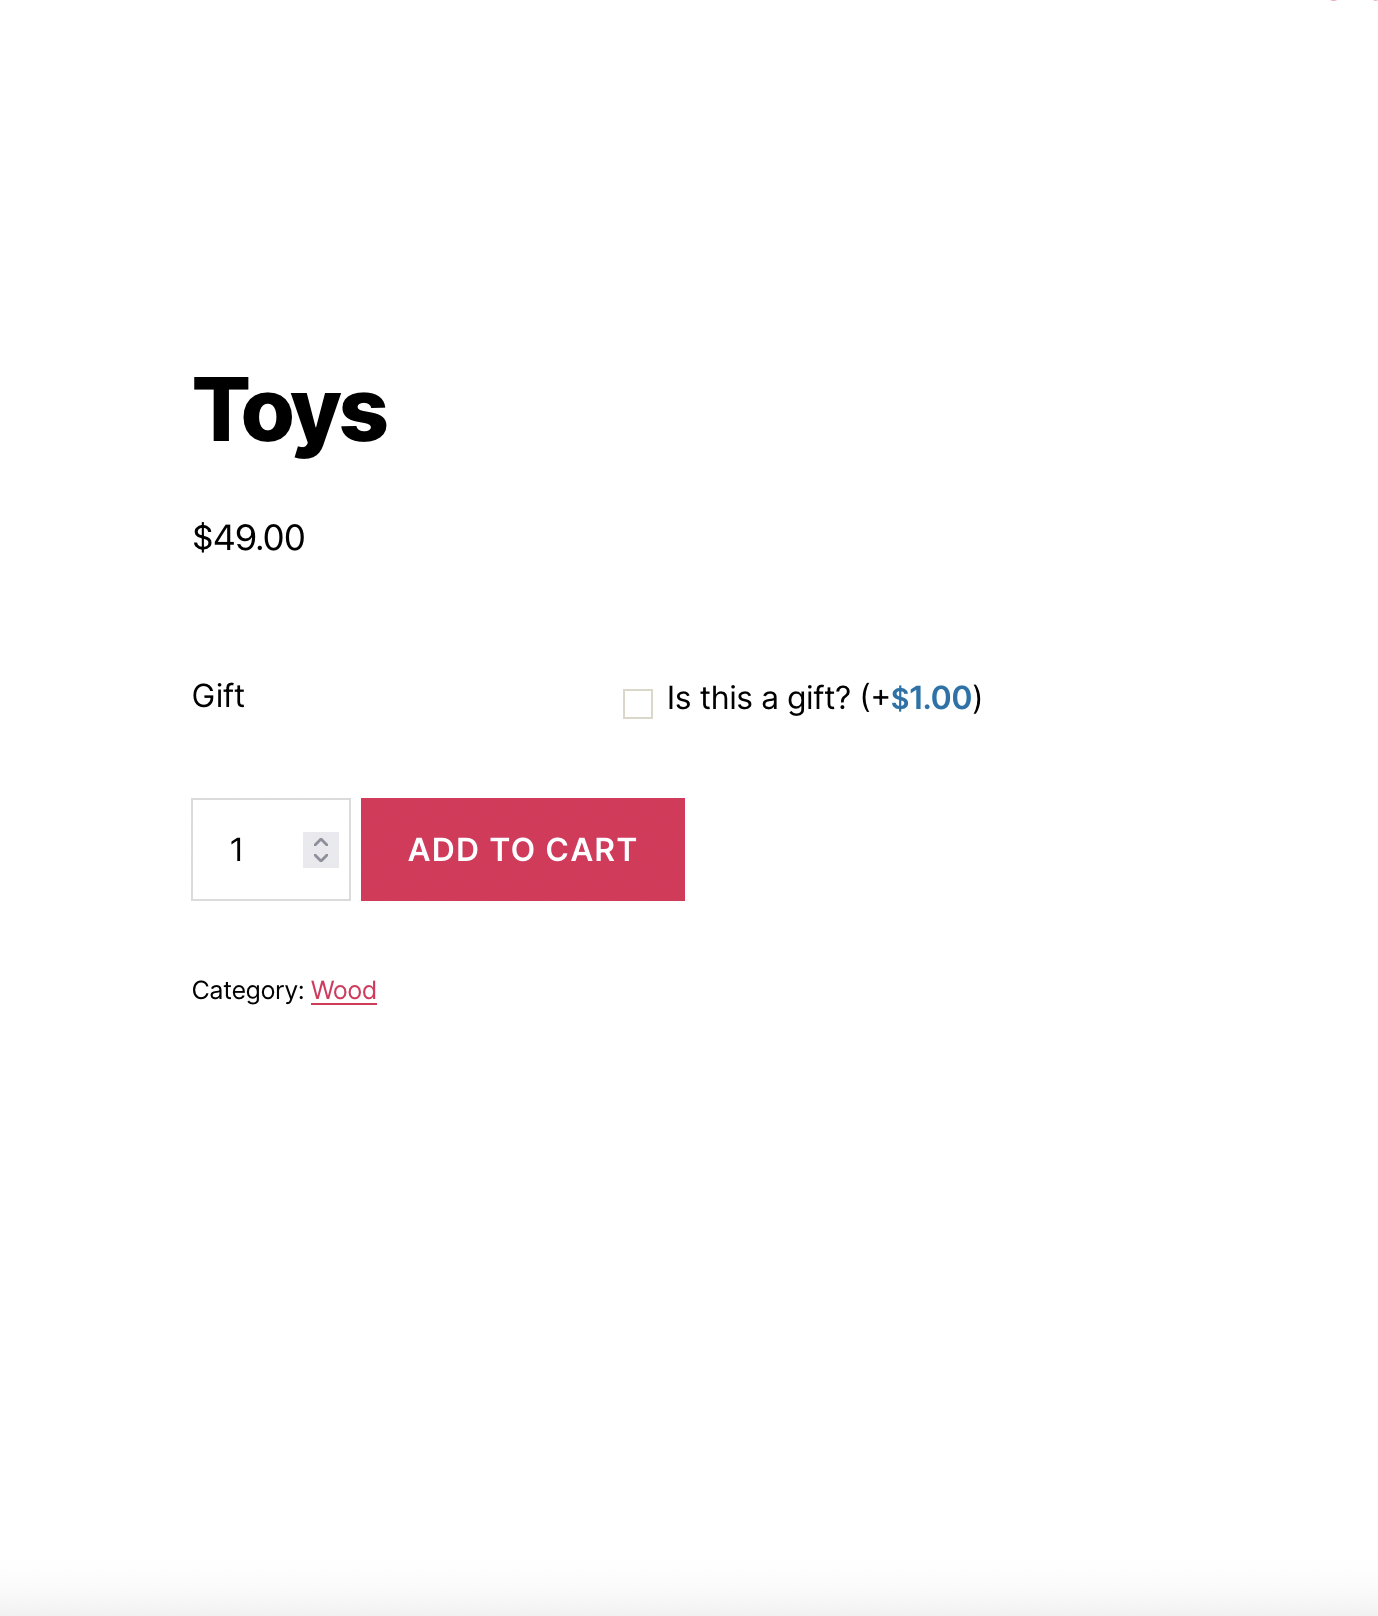
For example, if a customer selects “Yes” for gift wrapping, a gift message field appears. If they select “No,” the gift message field remains hidden. This dynamic behavior makes forms shorter, cleaner, and easier to complete.
WooCommerce conditional logic works by defining rules such as:
- Show Field A when Field B equals a specific value
- Hide Field C when Field D is not selected
- Display Field E only when multiple conditions are met
- Show a group of fields based on a single selection
This approach transforms static product forms into intelligent, responsive interfaces that adapt to customer choices in real time.

Why Your Store Needs Conditional Logic
Implementing WooCommerce conditional logic offers several important benefits for your store:
- Simplified Customer Experience – When customers see only relevant options, they spend less time figuring out which fields apply to them. A cleaner interface reduces confusion and helps customers complete their purchases faster.
- Reduced Form Abandonment – Long, complicated forms often cause customers to abandon their carts. WooCommerce conditional logic keeps forms short by hiding unnecessary fields, which can improve your conversion rates.
- Fewer Order Errors – When irrelevant fields are hidden, customers cannot accidentally fill them out. This prevents confusion and ensures you receive only the information that applies to each specific order.
- Professional Appearance – Dynamic forms that respond to customer input create a modern, professional impression. Customers appreciate websites that feel intelligent and well-designed.
- Better Data Quality – By showing fields only when they are relevant, you collect cleaner, more accurate data. Orders contain only the information that matters, making fulfillment easier.
- Flexible Product Configuration – WooCommerce conditional logic allows you to create complex product configurations without overwhelming customers. You can offer dozens of options while keeping the interface simple and manageable.
How WooCommerce Conditional Logic Works
WooCommerce conditional logic operates through a system of rules that evaluate customer selections and control field visibility accordingly.
The basic structure includes:
- Trigger Field: The field that customers interact with (dropdown, checkbox, radio button, etc.)
- Condition: The rule that must be met (equals, not equals, contains, is empty, etc.)
- Target Field: The field that will be shown or hidden based on the condition
- Action: What happens when the condition is met (show or hide)
Example Rule:
- Trigger Field: “Do you want gift wrapping?”
- Condition: Equals “Yes”
- Target Field: “Gift Message”
- Action: Show
When a customer selects “Yes” for gift wrapping, the gift message field instantly appears. When they select “No” or change their selection, the gift message field disappears.
Multiple Conditions: Advanced WooCommerce conditional logic allows you to combine multiple conditions using AND/OR operators:
- AND Logic: All conditions must be true for the action to trigger
- OR Logic: Any one condition being true triggers the action
This flexibility enables complex product configurations while maintaining a clean user interface.


Types of Conditional Logic Rules
Different types of conditions serve different purposes in WooCommerce conditional logic:
- Value-Based Conditions
- Equals: Field value matches exactly (e.g., Color equals “Red”)
- Not Equals: Field value does not match (e.g., Size not equals “Small”)
- Contains: Field value includes specific text (e.g., Notes contains “urgent”)
- Does Not Contain: Field value excludes specific text
- Selection-Based Conditions
- Is Selected: Checkbox or option is checked/chosen
- Is Not Selected: Checkbox or option is unchecked/not chosen
- Any Selected: At least one option from a group is selected
- All Selected: All specified options are selected
- Numeric Conditions
- Greater Than: Number exceeds specified value
- Less Than: Number is below specified value
- Between: Number falls within a range
- Equals (Numeric): Number matches exactly
- Empty/Filled Conditions
- Is Empty: Field has no value entered
- Is Not Empty: Field contains any value
Real-World Examples of Conditional Logic
Understanding practical applications helps you implement WooCommerce conditional logic effectively. Here are common scenarios:
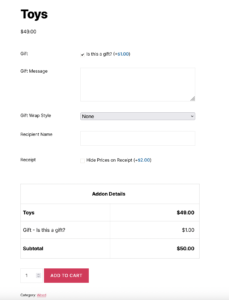
- Example 1: Gift Wrapping Options
- Trigger: “Add gift wrapping?” (Yes/No radio buttons)
- Rule: When “Yes” is selected
- Show: Gift message text area, Gift wrap style dropdown
Customers who want gift wrapping see additional options. Those who do not want gift wrapping see a simpler form.
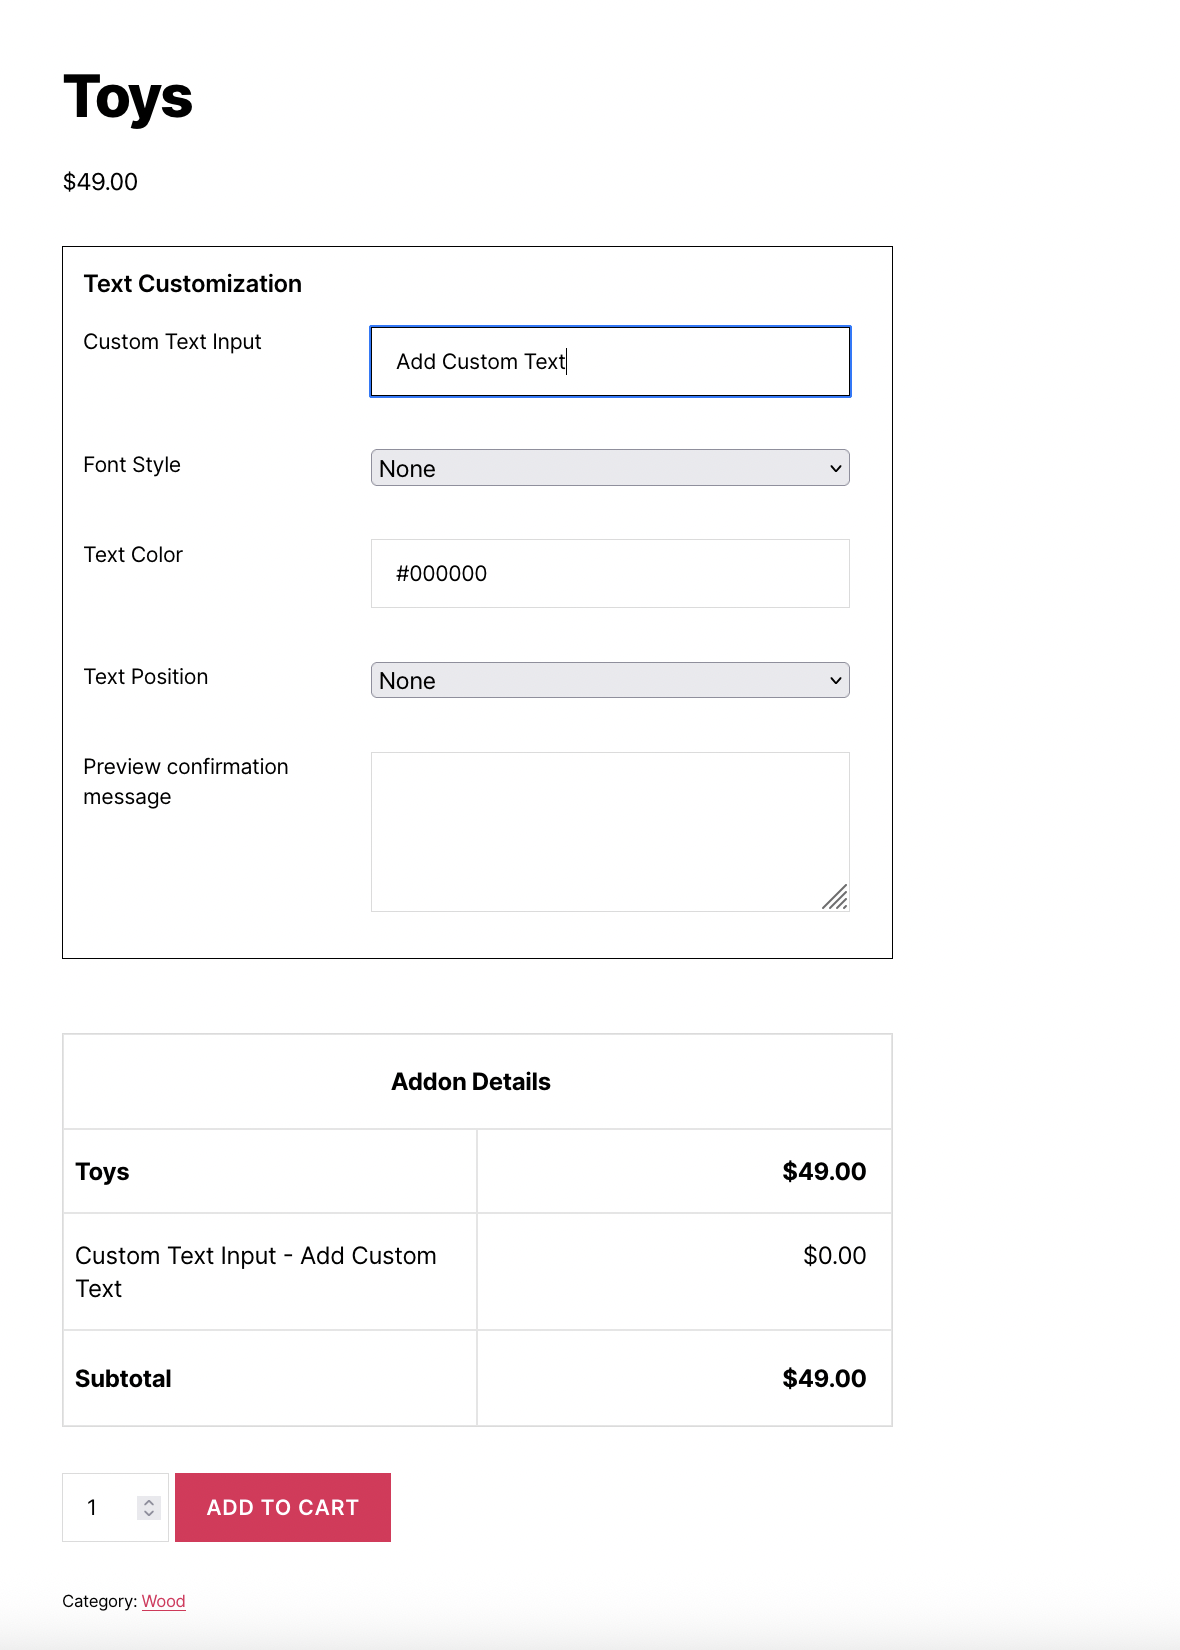
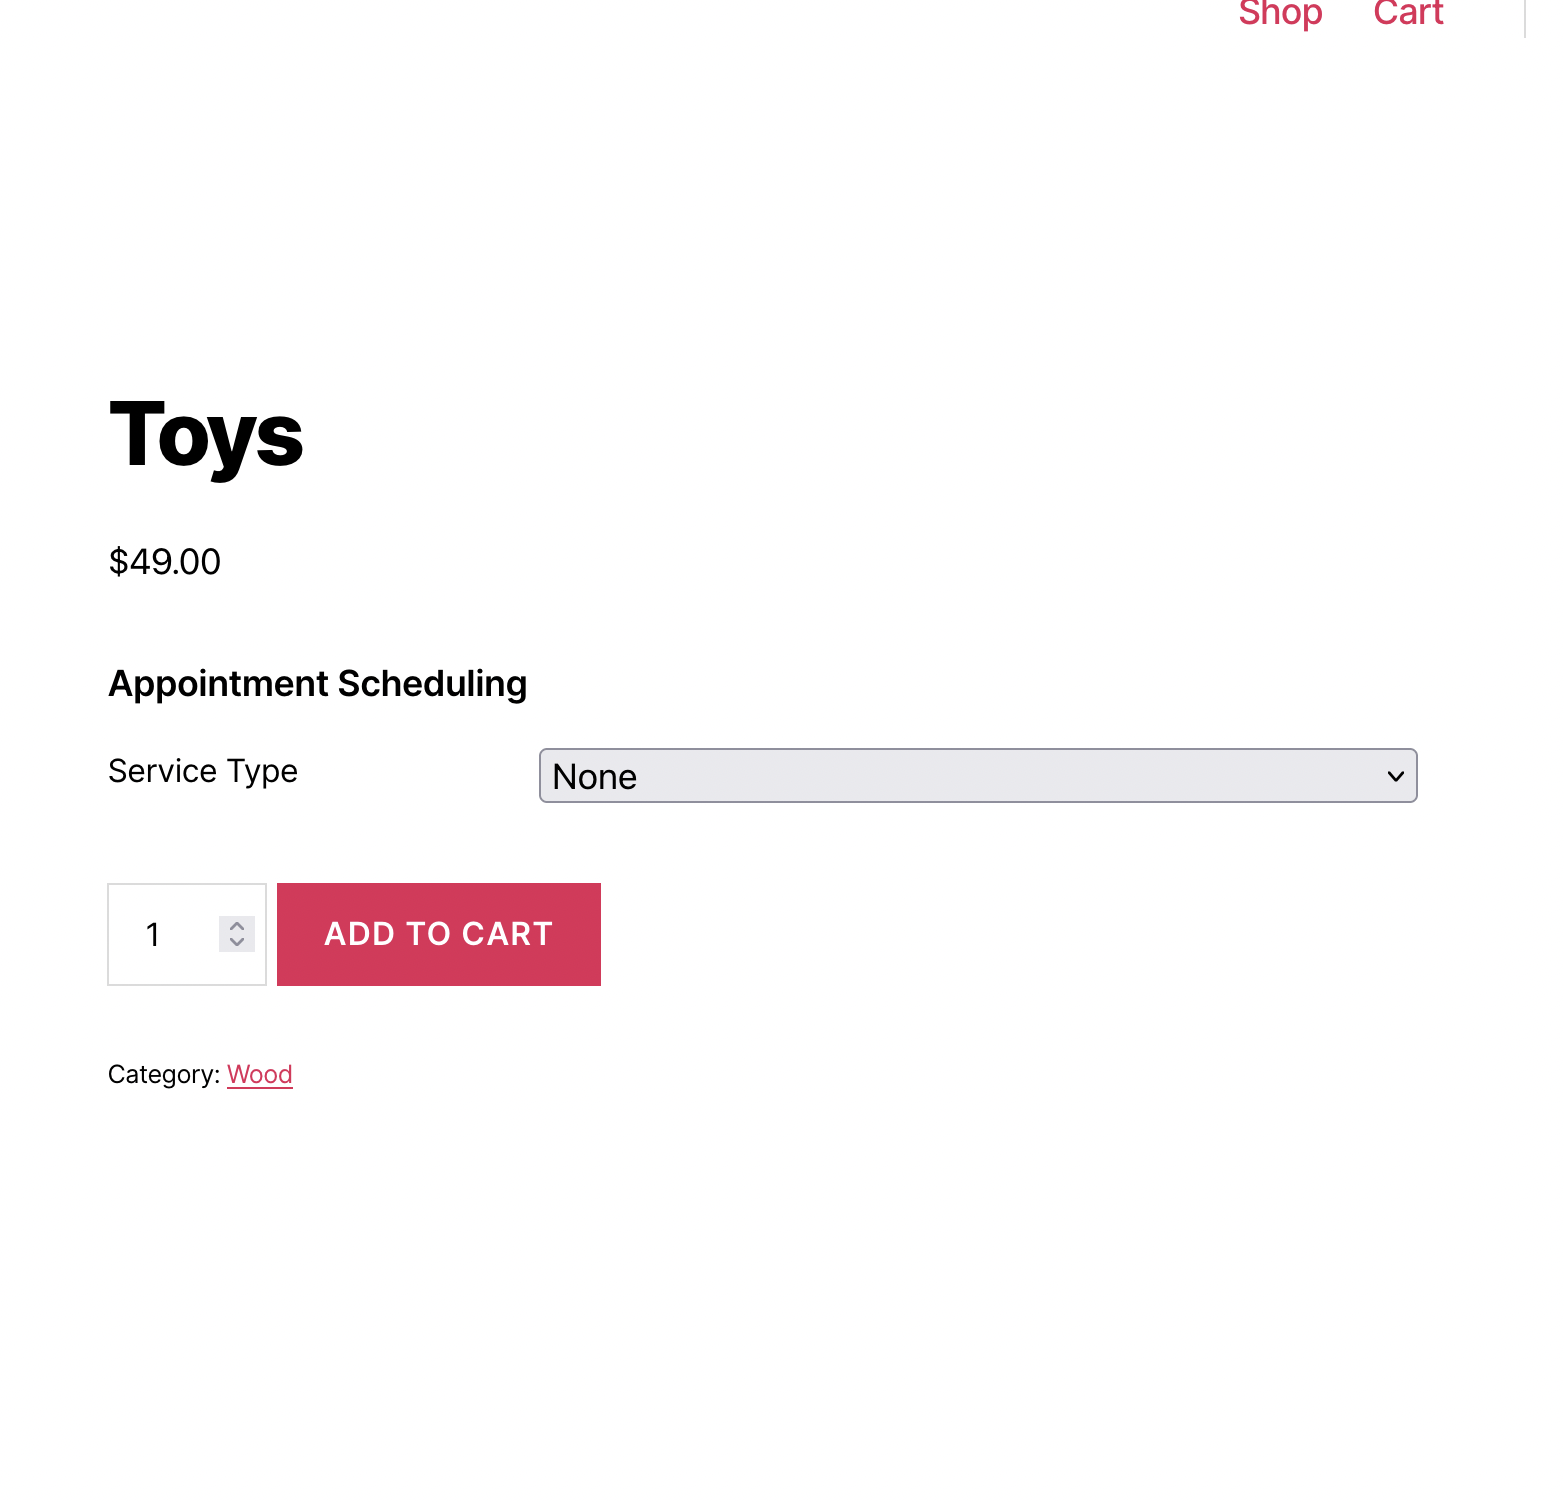
- Example 2: Product Customization Tiers
- Trigger: “Customization Level” (Basic/Standard/Premium dropdown)
- Rules:
- When “Basic” → Show: Color selection only
- When “Standard” → Show: Color + Size + Material
- When “Premium” → Show: All options + Custom engraving + Priority processing
Different customization tiers reveal progressively more options.
- Example 3: Delivery Scheduling
- Trigger: “Delivery Type” (Standard/Express/Scheduled radio buttons)
- Rules:
- When “Standard” → Hide all extra fields
- When “Express” → Show: Rush fee notice
- When “Scheduled” → Show: Date picker + Time slot dropdown
Only scheduled deliveries require date and time selection.
- Example 4: File Upload Requirements
- Trigger: “Product Type” (Pre-designed/Custom artwork dropdown)
- Rules:
- When “Pre-designed” → Show: Design selection gallery
- When “Custom artwork” → Show: File upload field + Design guidelines
Custom artwork orders require file uploads while pre-designed orders show a gallery.
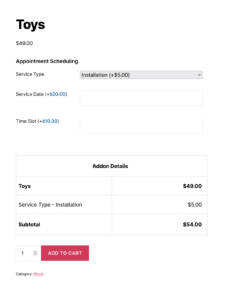
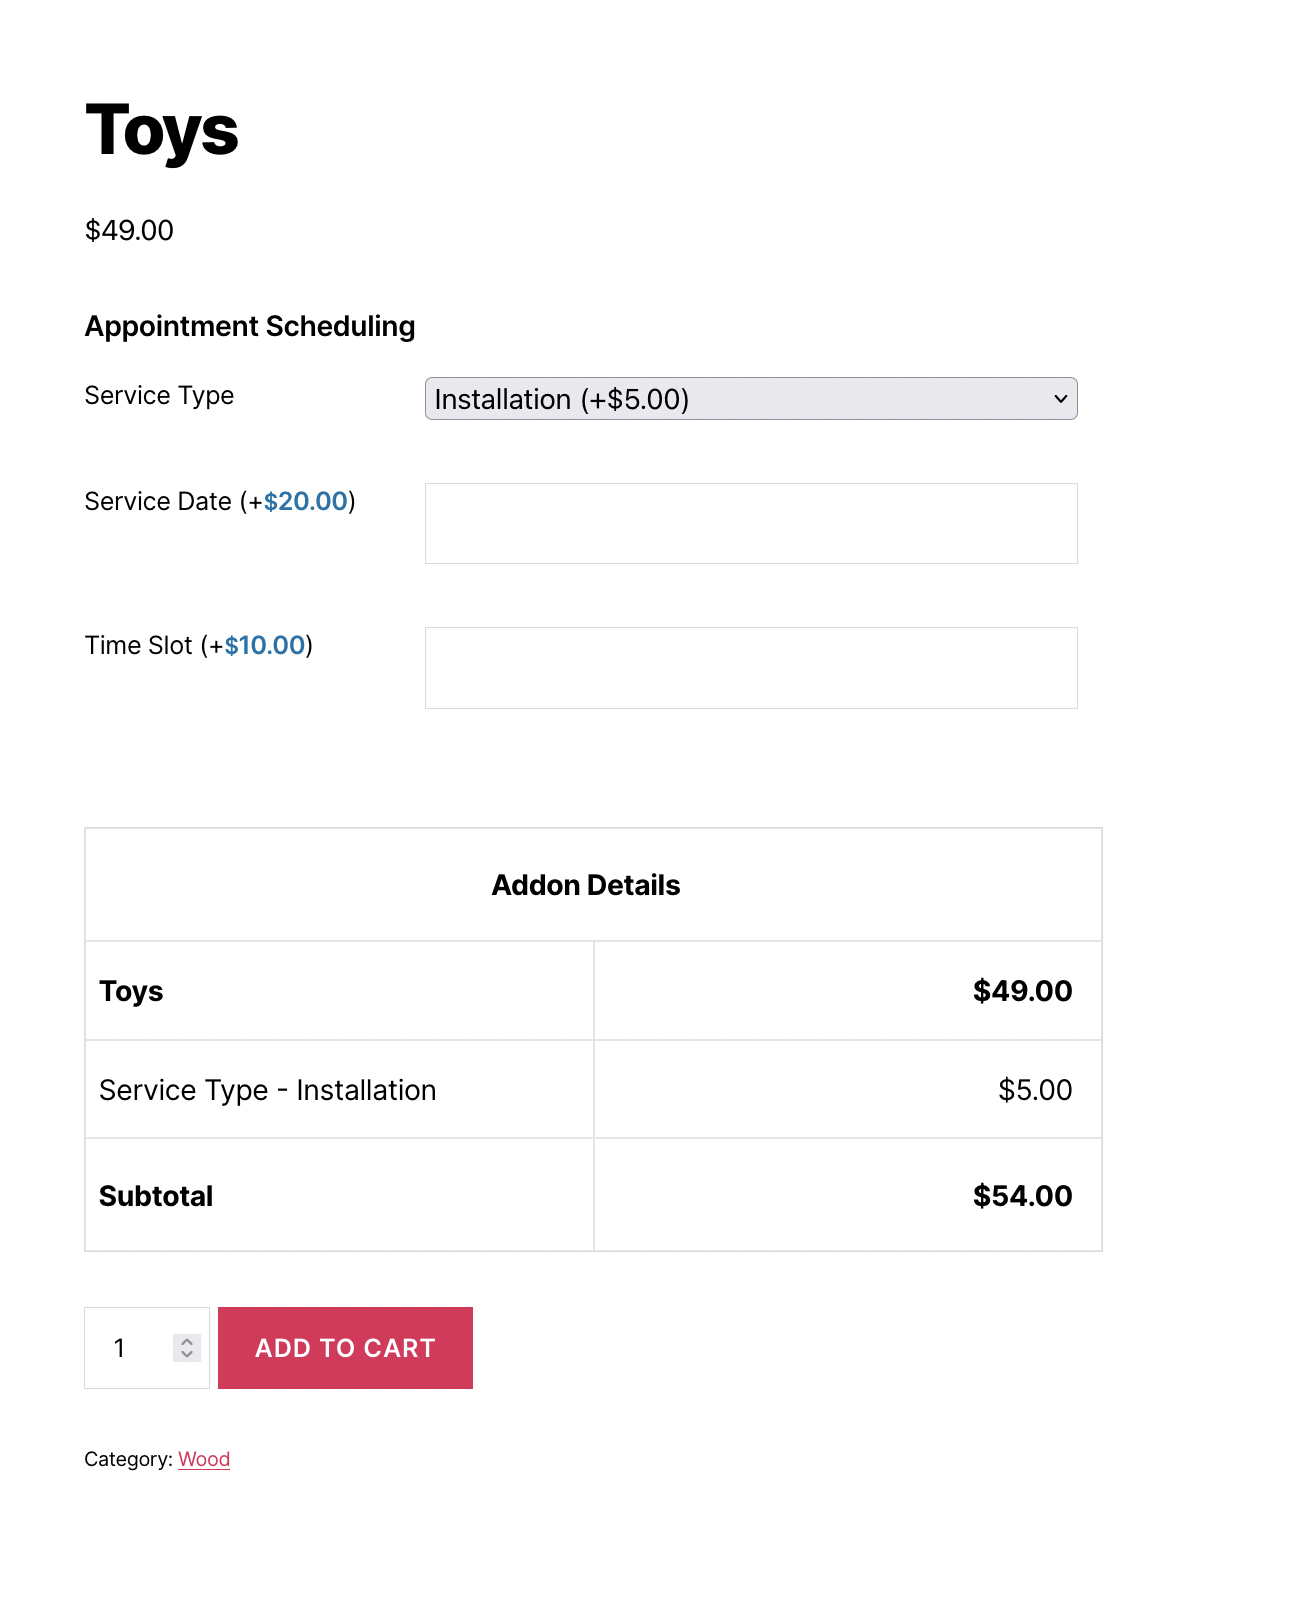
- Example 5: Service Add-ons
- Trigger: “Include installation?” (Checkbox)
- Rule: When checked
- Show: Preferred installation date, Installation address, Contact phone number
Installation services require additional scheduling information.
- Example 6: Multi-Condition Rules
- Trigger 1: “Product Category” = “Clothing”
- Trigger 2: “Personalization” = “Yes”
- Rule: When BOTH conditions are true
- Show: Embroidery text field, Thread color selection, Font style dropdown
Embroidery options appear only for clothing items with personalization selected.
How to Add WooCommerce Custom Fields Using a Plugin
Setting up WooCommerce conditional logic requires a plugin that supports this feature. Here is the general process:
- Install a Compatible Plugin
- Choose a WooCommerce product options plugin that includes WooCommerce conditional logic functionality. Look for plugins that offer visual rule builders for easier configuration.
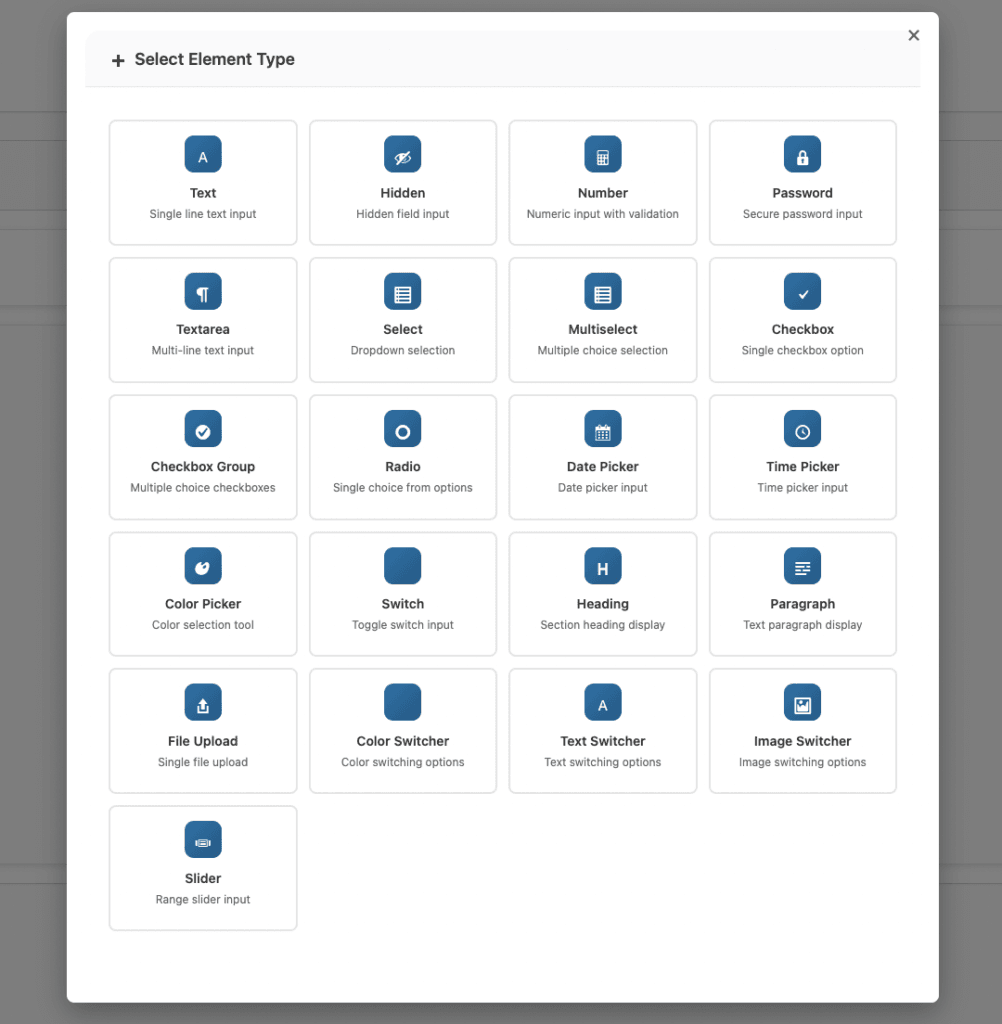
- Step 2: Create Your Product Fields
- Before setting up WooCommerce conditional logic, create all the fields you need:
- Trigger fields (dropdowns, checkboxes, radio buttons)
- Target fields (fields that will be shown/hidden)
- Before setting up WooCommerce conditional logic, create all the fields you need:
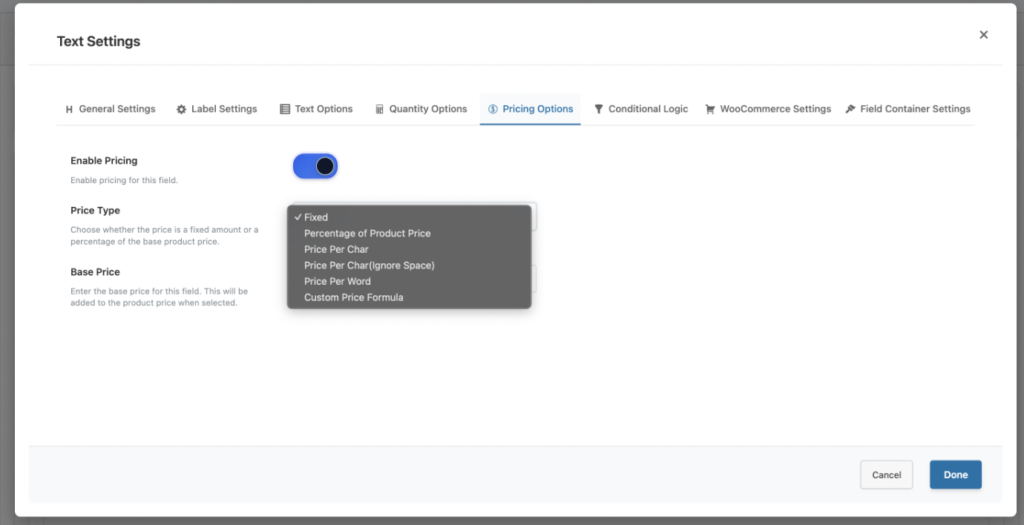
- Step 3: Access Conditional Logic Settings
- Navigate to the conditional logic section of your field settings. This is usually found within each field’s configuration panel or in a dedicated rules section.
- Step 4: Define Your Trigger Field
- Select which field will control the visibility of other fields. This is typically a selection-type field like a dropdown, radio button, or checkbox.
- Step 5: Set the Condition
- Choose the condition type (equals, not equals, is selected, etc.) and specify the value that triggers the rule.
- Step 6: Select Target Fields
- Choose which fields should be shown or hidden when the condition is met. You can often select multiple target fields for a single rule.
- Step 7: Choose the Action
- Specify whether matching the condition should show or hide the target fields.
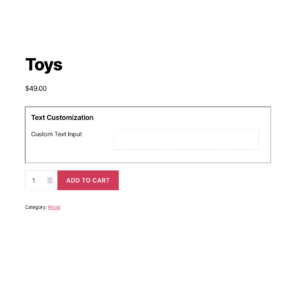
- Step 8: Test Your Configuration
- Visit the product page and test all possible combinations:
- Verify fields appear when expected
- Confirm fields hide when conditions are not met
- Check that changing selections updates visibility correctly
- Visit the product page and test all possible combinations:
- Step 9: Refine and Adjust
- Based on testing, adjust your rules to handle edge cases and ensure smooth operation.
Best Practices for WooCommerce Conditional Logic
Follow these guidelines to create effective WooCommerce conditional logic configurations:
- Keep Rules Simple – Start with straightforward show/hide rules before creating complex multi-condition logic. Simple rules are easier to maintain and troubleshoot.
- Use Logical Field Order – Place trigger fields before their dependent fields in your form layout. Customers should encounter the controlling field before seeing options that depend on it.
- Provide Clear Labels – Write field labels that make the conditional relationship obvious. Customers should understand why certain fields appear based on their selections.
- Avoid Circular Dependencies – Never create rules where Field A controls Field B and Field B controls Field A. This creates confusion and potential technical issues.
- Test All Combinations – With multiple conditional rules, test every possible combination of selections. Ensure no scenario leaves customers with missing or conflicting fields.
- Consider Default States – Decide whether conditional fields should be hidden or shown by default. Usually, hiding them until triggered creates a cleaner initial appearance.
- Document Your Rules – Keep a record of your WooCommerce conditional logic configuration. This helps with troubleshooting and makes future updates easier.
- Use Field Groups – When multiple fields share the same visibility condition, group them together. This makes management easier and ensures consistent behavior.
- Performance Considerations – Excessive conditional rules can slow page performance. Keep your logic efficient and avoid unnecessary complexity.
Common Mistakes to Avoid
- Too Many Conditions – Creating overly complex rules with numerous conditions makes troubleshooting difficult. Simplify where possible.
- Forgetting Required Field Validation – If a conditionally shown field is required, ensure validation only applies when the field is visible. Hidden required fields should not block form submission.
- Inconsistent Rule Logic – Mixing AND and OR logic without clear planning creates unpredictable behavior. Map out your logic before implementation.
- Ignoring Edge Cases – Consider what happens when customers change their selections multiple times. Fields should update correctly regardless of the order of selections.
- No Default Selection – Without default values on trigger fields, conditional fields may not display until customers make a selection. Consider whether defaults improve the experience.
- Overcomplicating Simple Products – Not every product needs WooCommerce conditional logic. Use it when it genuinely improves the experience, not just because it is available.
Troubleshooting Conditional Logic Issues
- Fields Not Showing/Hiding
- Verify the trigger field name matches exactly in your rules
- Check that condition values match the actual field option values
- Ensure the plugin JavaScript is loading correctly
- Clear any caching plugins and test again
- Rules Conflicting
- Review all rules affecting the same target field
- Check for contradictory conditions
- Simplify to isolate the problem
- Performance Issues
- Reduce the number of conditional rules
- Combine similar rules where possible
- Check for plugin conflicts
Conclusion
WooCommerce conditional logic transforms complex product configurations into simple, user-friendly experiences. By showing customers only the fields relevant to their selections, you reduce confusion, improve data quality, and create a professional shopping experience that encourages conversions.
Whether you are selling customizable products, offering service add-ons, or managing delivery options, WooCommerce conditional logic helps you collect the right information without overwhelming your customers. Start with simple show/hide rules and gradually build more complex configurations as you become comfortable with the functionality.
The investment in setting up proper WooCommerce conditional logic pays dividends through reduced support requests, fewer order errors, and higher customer satisfaction. Your customers will appreciate the streamlined experience, and your team will benefit from cleaner, more accurate order data.
Related Resources
Frequently Asked Questions
Find answers to commonly asked questions about our products and services.
Still have a question?
If you have any other queries, feel free to reach out to us. Our knowledgeable team is here to help!